It has taken me some time but I have finally got my hands on an Olympus OMD E-M5 Mkii to test out it’s Infrared capabilities, particularly with respect to High Res mode. There are not really a lot of choices for native Micro Four Thirds Infrared lenses, but the 9-18mm is a stand out. I’ve never experienced any hot spots with this lens and it’s nice and wide. Of course using it on an off the shelf camera (not infrared converted) you expect some long exposure times, but using the High Res mode on the E-M5 you need a tripod anyway, so a good fit.
All shots taken with Olympus 9-18mm f4-5.6 wide zoom, and cheap $13 no name 720nm Infrared filter from Ebay. As mentioned in previous posts, I have tried $100 IR filters and I see no difference at all compared to the cheap ones.

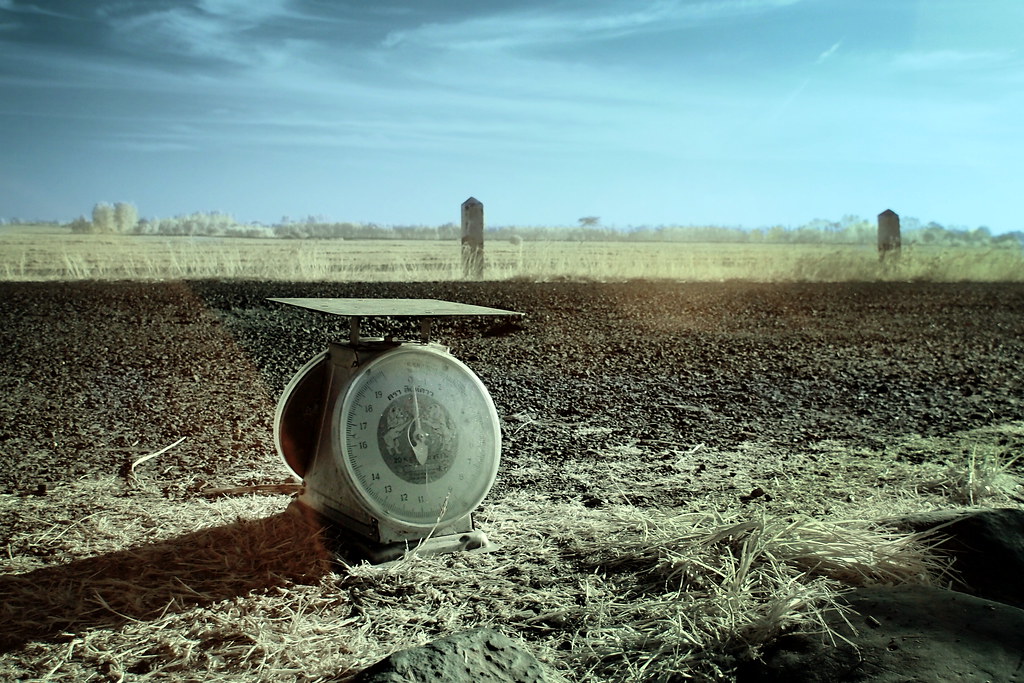
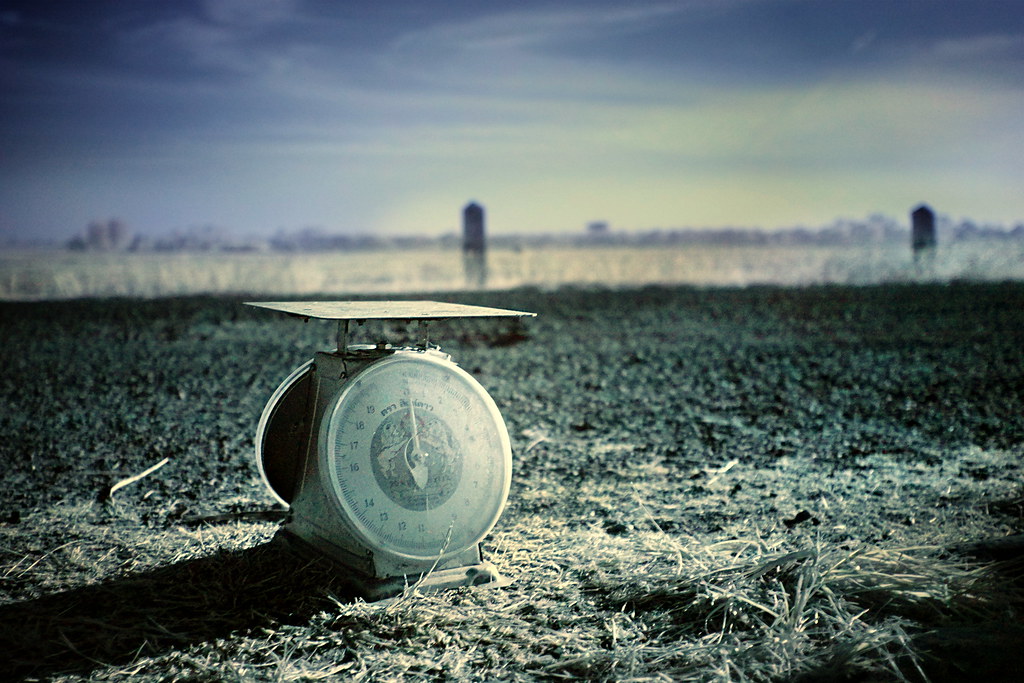
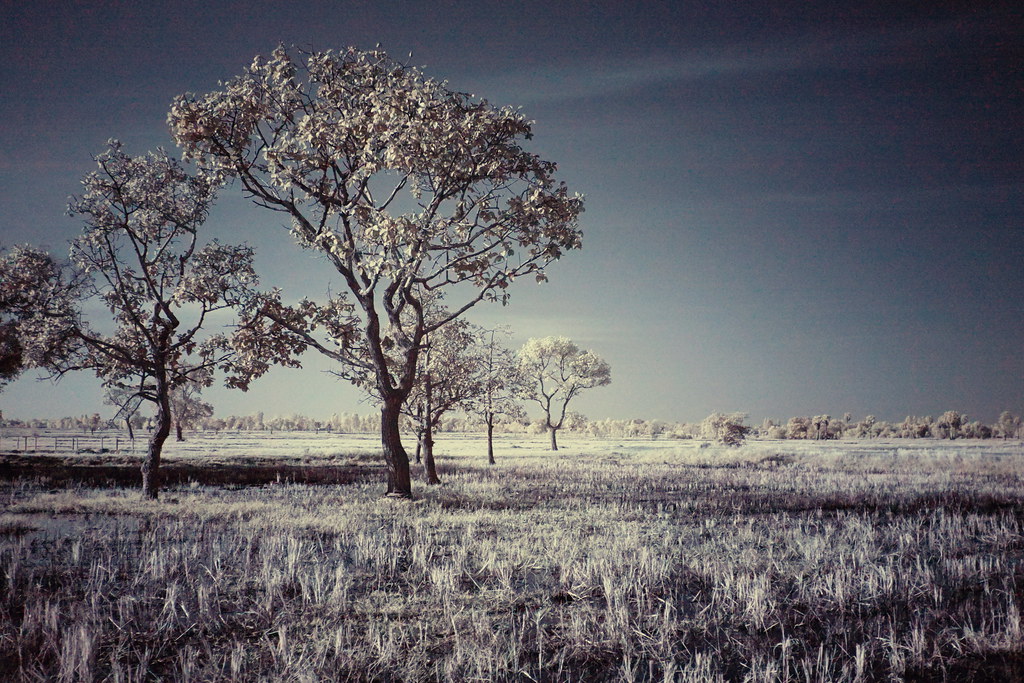
left is standard single image, right is high res mode
Both images taken on a tripod with the same exposure, 4 seconds @f5.6, 18mm. The High res mode takes longer with it’s multiple images and then it’s stitching.
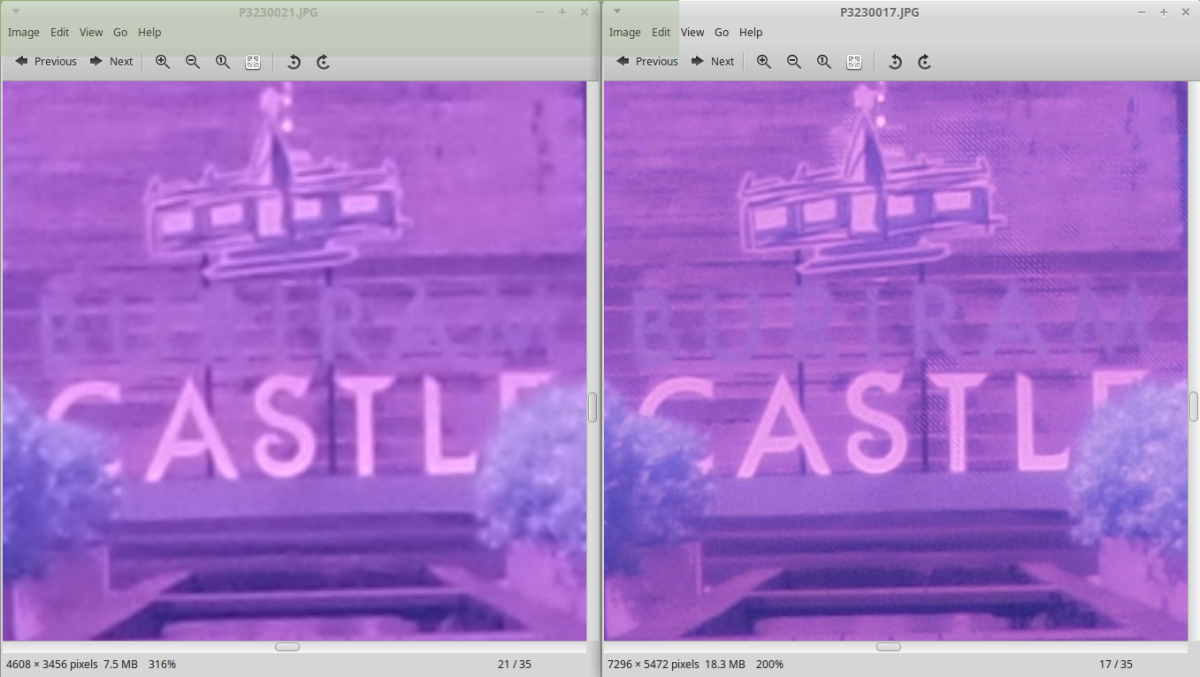
zoomed in pixel peeping, 316% on the single image left, and 200% on the high res image right
The extra resolution is apparent when pixel peeping. There were people walking about constantly during these shots, Buriram castle is a bit of a tourist attraction. In the single exposure at 4 seconds the people just blend away and become invisible. On the High res shot they leave some torn jagged artefacts in the image. So on the plus side you get extra resolution, on the negative you get some artefacts.

zoomed in pixel peeping, 273% on the single image left, and 173% on the high res image right
Looking at signs in the image the resolution advantage is quite clear. I have read some reviews discussing the fact that you need the Oly pro lenses to make the high res mode worth while. However all the lenses I have tested in Hi Res mode show an increase in resolution, some more than others, but all show an improvement, even the cheap 12-50mm which is the least sharp Micro four thirds lens I have tried does show an improvement in high res mode.

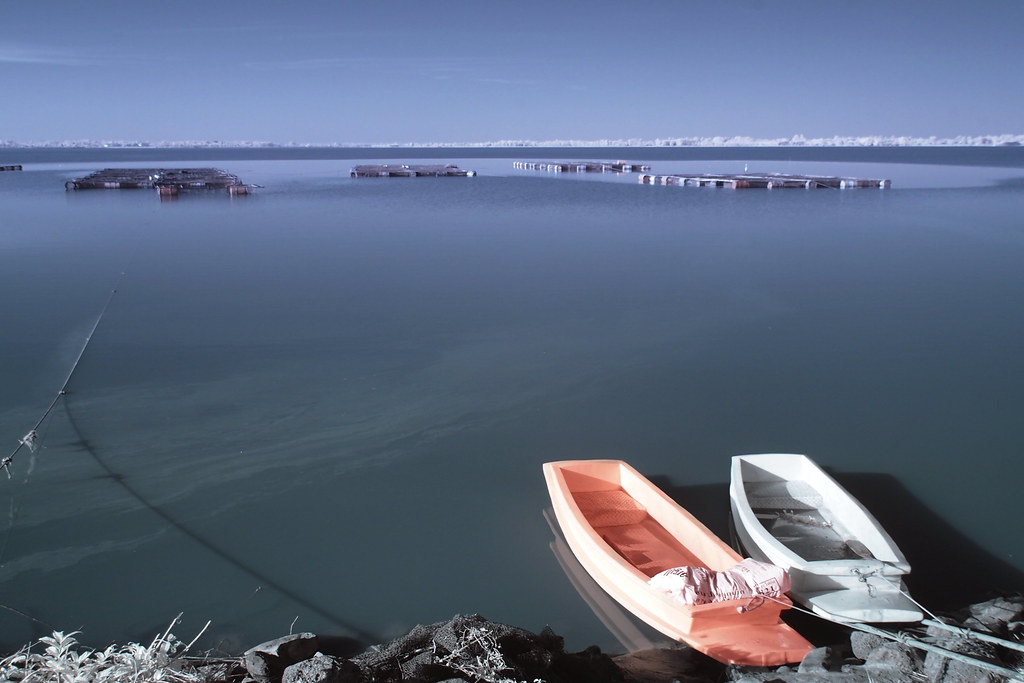
left is standard single image, right is high res mode
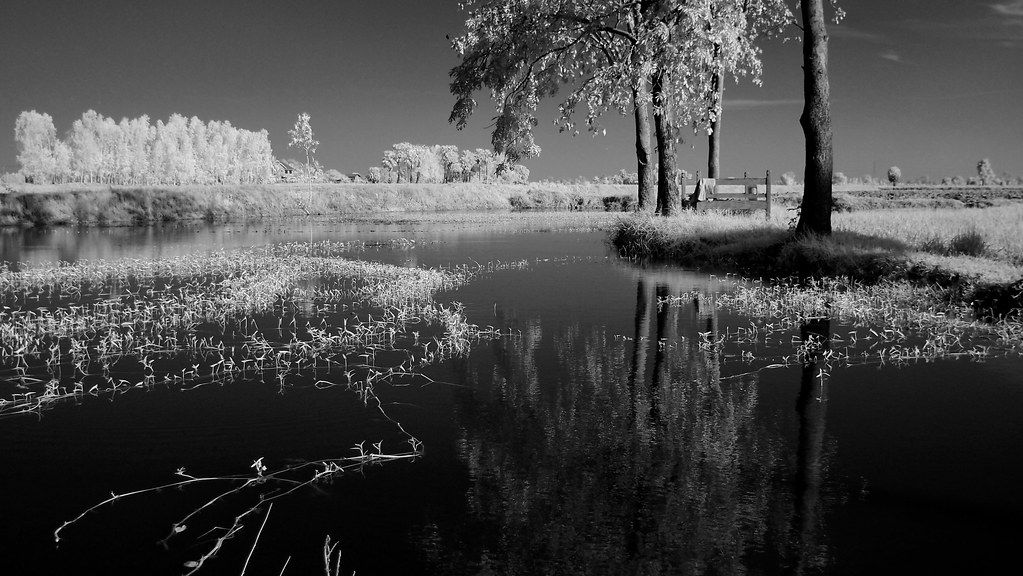
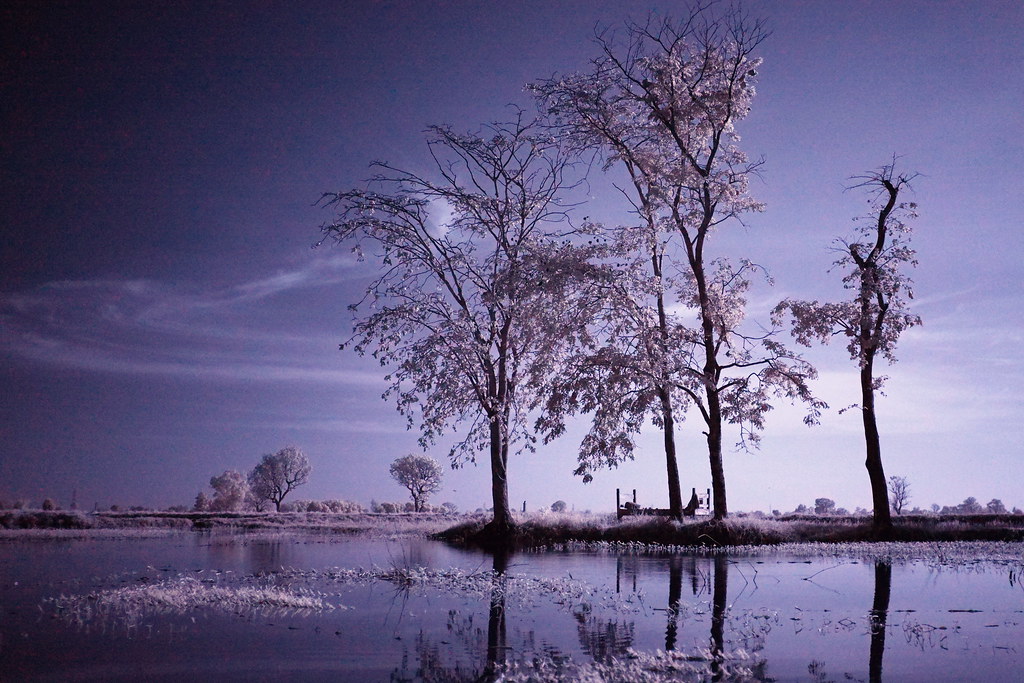
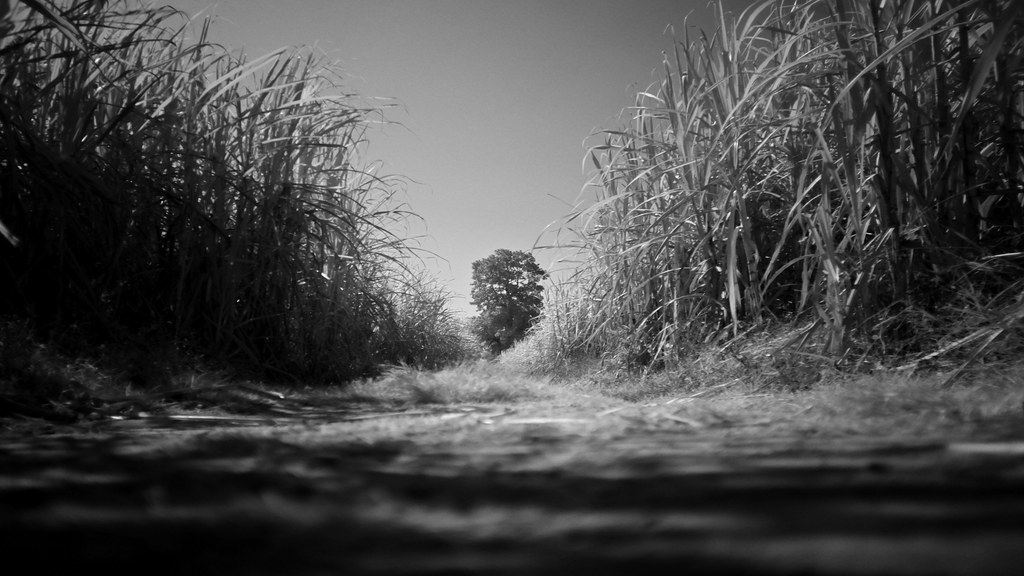
Looking at another example with some wind blowing through reeds, branches and some water movement. Exposure 2 seconds @f5.6, 11mm.

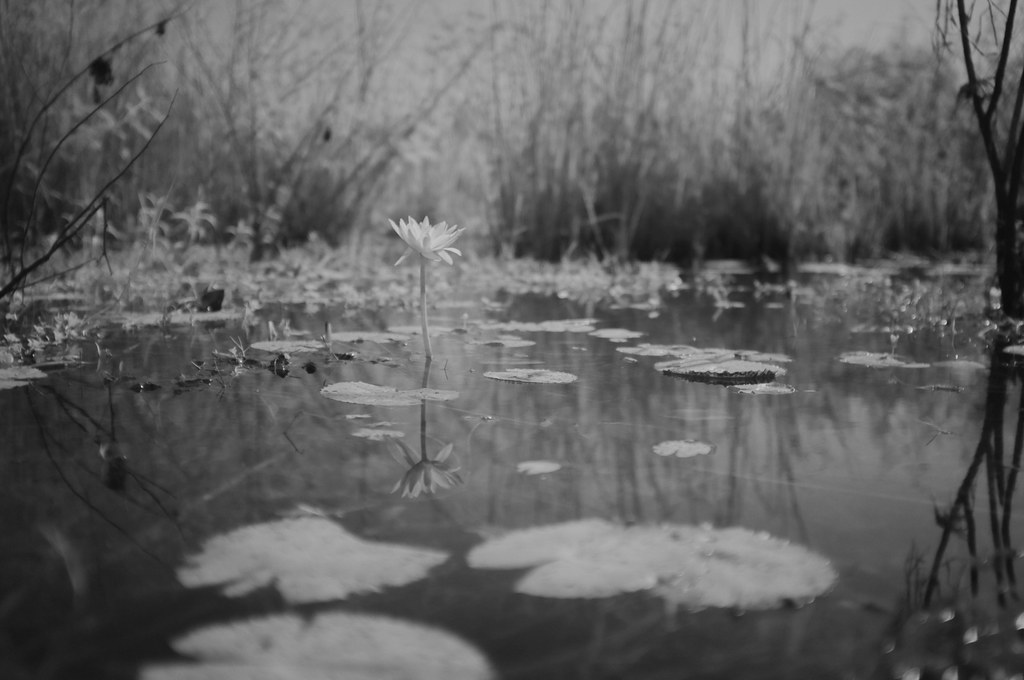
zoomed in pixel peeping, 203% on the single image left, and 129% on the high res image right
The 2 second exposure is enough to create some glassy water effects in both the single image and the high res mode. The waving reeds in the breeze cause a little motion blur in the single shot, and again some jagged artefacts in the high res shot.

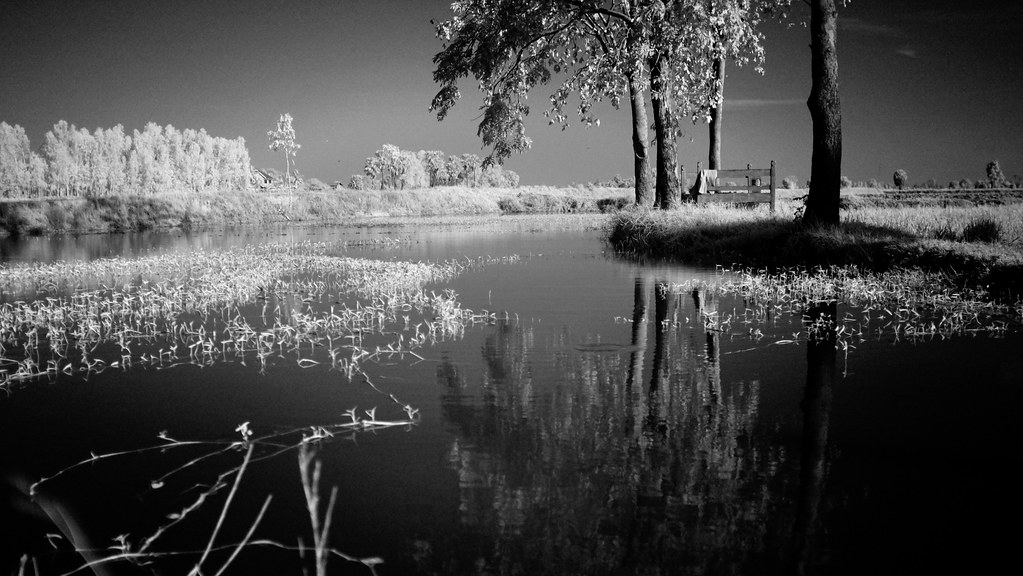
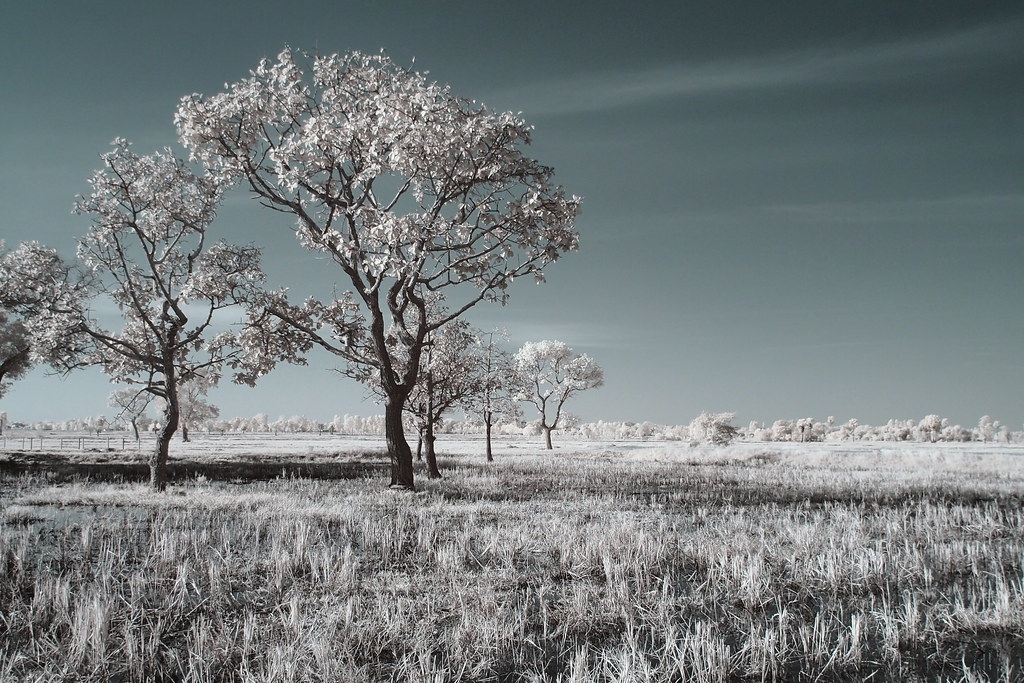
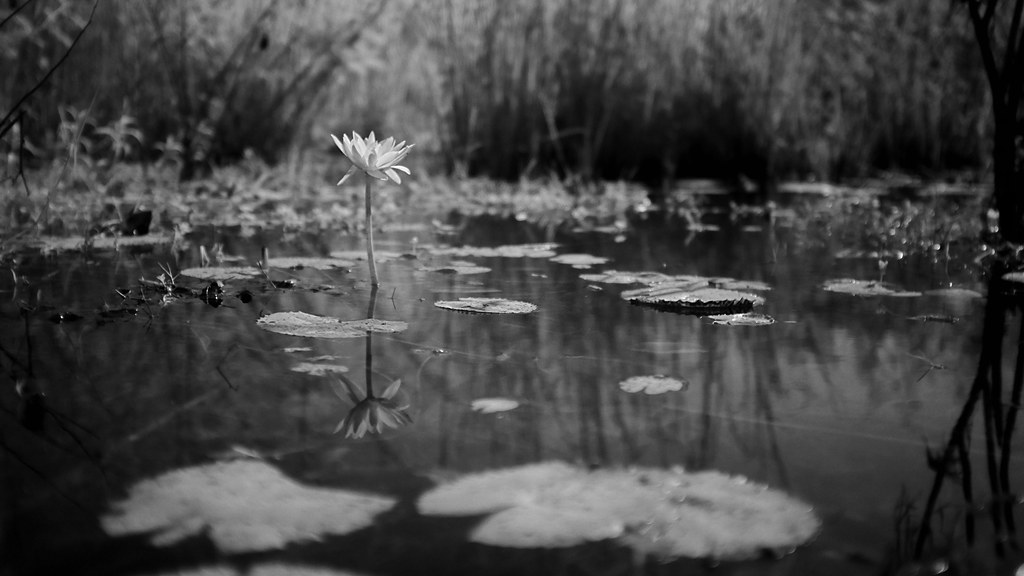
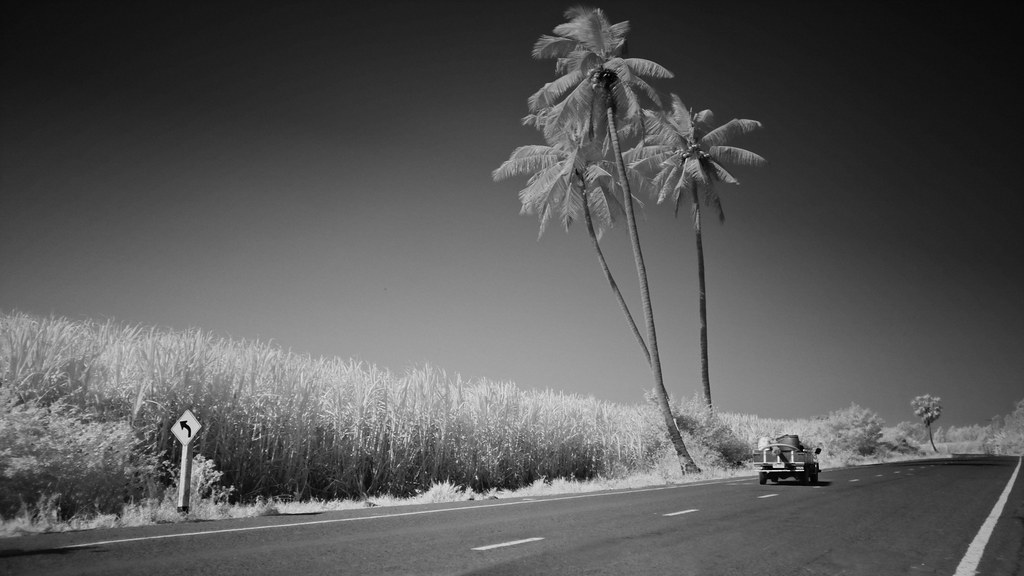
Processed High Res Image
Just to get a little more extreme it is fun to stitch some of these high res shots together in Hugin to make even bigger files. The artefacts are there, but you have to really pixel peep to notice.

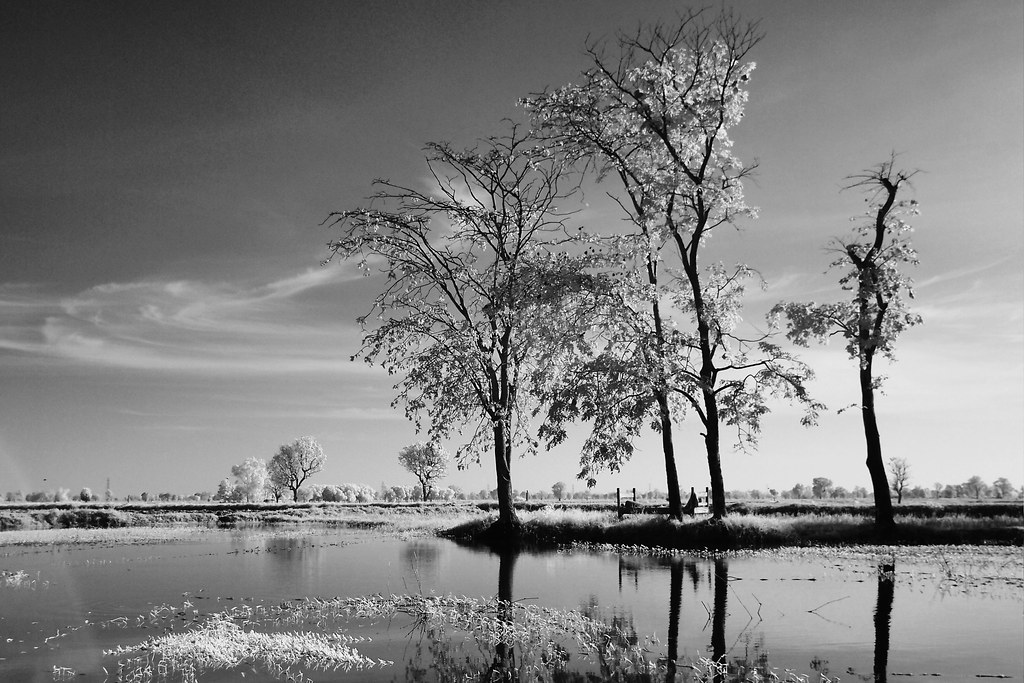
Processed High Res, Hugin Stiched (3 images) 65Mp 12407 x 5280 pixels
Click for Flickr High res image